
This blog post describes how you can add a code coverage badge to the readme.md of your PowerShell projects in Github as well as have them automatically updated with the current coverage percentage via your Continuous Integration pipeline (if you’ve implemented one).
“Code coverage” (or test coverage) is the concept of reporting how much of your code is executed by your tests. A program with high test coverage is likely to have a lower chance of containing undetected bugs, compared to a program with low test coverage.
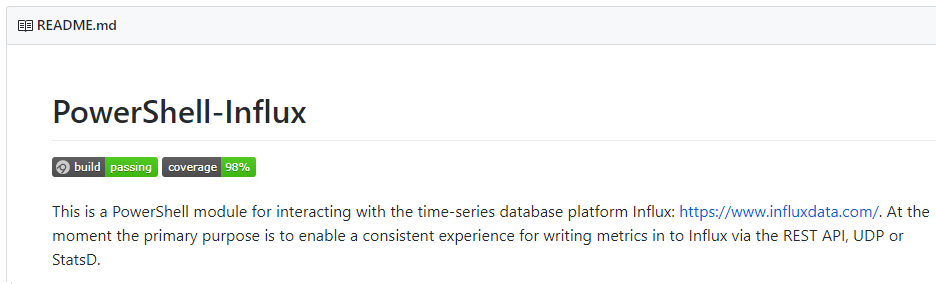
Adding badges to your projects readme.md gives potential users of your code a quick way to assess the health of the project. Here is an example of what the badges currently look like, on my PowerShell-Influx project:
In order to follow this guide completely you need to have already implemented Pester tests for your projects and a CI pipeline (e.g via AppVeyor or similar) to run those tests automatically when code changes occur.
- If you haven’t implemented tests for PowerShell before, I strongly recommend you check out Pester.
- If you haven’t implemented a CI pipeline for a PowerShell project before, I recommend you check out Warren Frame’s excellent guide.
If you haven’t implemented a CI pipeline (and/or don’t want to yet) you could still implement the code coverage badge (per most of the guidance below), you’d just need to ensure you kicked off your
build.ps1script manually before each time you make a commit to the project in Github.
There are three steps you need to complete in order to implement the badge:
1. You need to modify your call of Invoke-Pester so that it returns a code coverage report on completion.
If you have a CI pipeline setup, you likely have a build.ps1 or similar script that is invoked by your CI tool when a commit is made. It may be in here that you invoke Pester to run your tests, or (like me) you might make use of PSake which is a handy tool for organising your build in to phases.
Within my psake.ps1 (triggered by my build.ps1 which just ensures the modules my pipeline depends on are installed) I have a ‘Test’ task where Pester is invoked. This task has now been modified as follows:
$CodeFiles = (Get-ChildItem $ENV:BHModulePath -Recurse -Include "*.psm1","*.ps1").FullName

$Script:TestResults = Invoke-Pester -Path $ProjectRoot\Tests -CodeCoverage $CodeFiles -PassThru -OutputFormat NUnitXml -OutputFile "$ProjectRoot\$TestFile" -ExcludeTag Integration
First it populates a $CodeFiles variable via Get-ChildItem with all the .ps1 and .psm1 files that are within my module directory (therefore excluding .ps1 files that relate to the build pipeline, as these are in the folder above the module).
This variable is then sent to the -CodeCoverage parameter of Invoke-Pester, which takes an array of files as input with which to perform code coverage analysis against.
I also return the result of Invoke-Pester to a variable ($Script:TestResults) as this is where the code coverage result is then stored. This variable is $Script: scoped so that I can access it from the next PSake task in my pipeline (the Build task).
When you use the -CodeCoverage parameter, Pester outputs a report at the end which shows you exactly which lines were not covered by your tests. Use this to guide you if you want to improve your code coverage score:
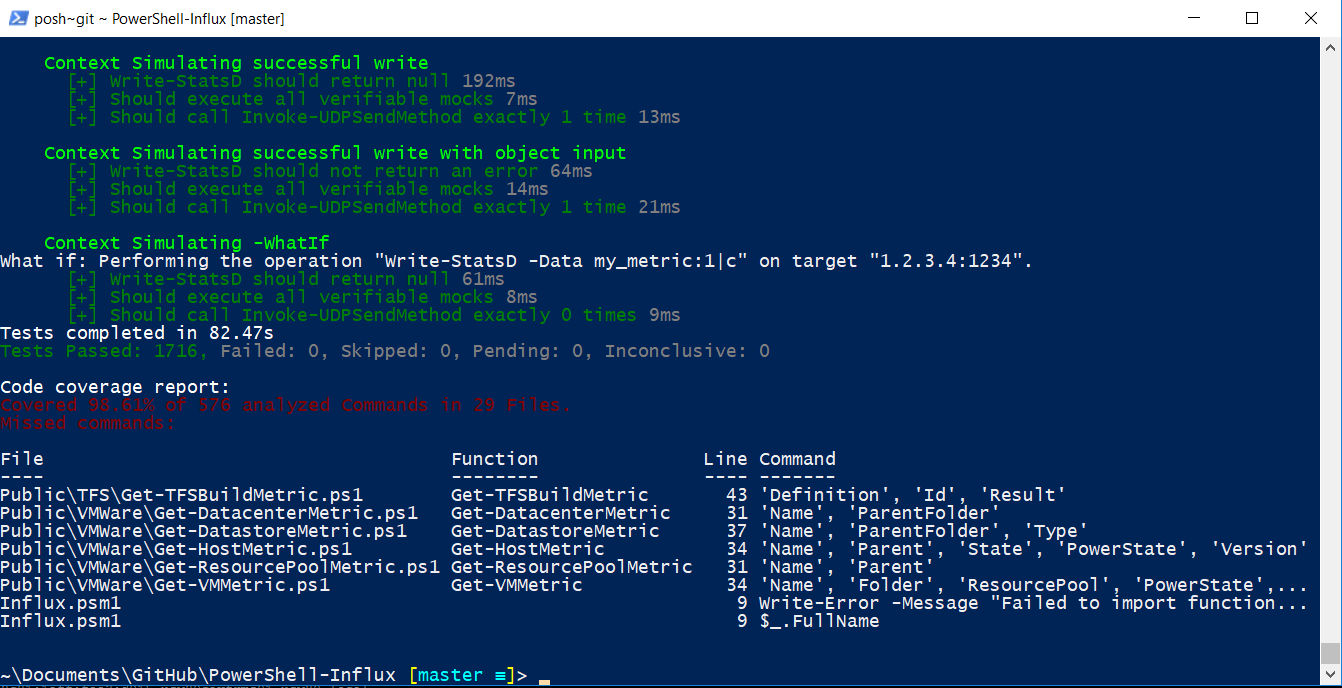
For example, in the output above none of my tests result in a certain Write-Error command being output, so if I want to test that this works correctly I could add a Pester tests with some input data that would cause this error to occur and then have the test verify that it does as expected.
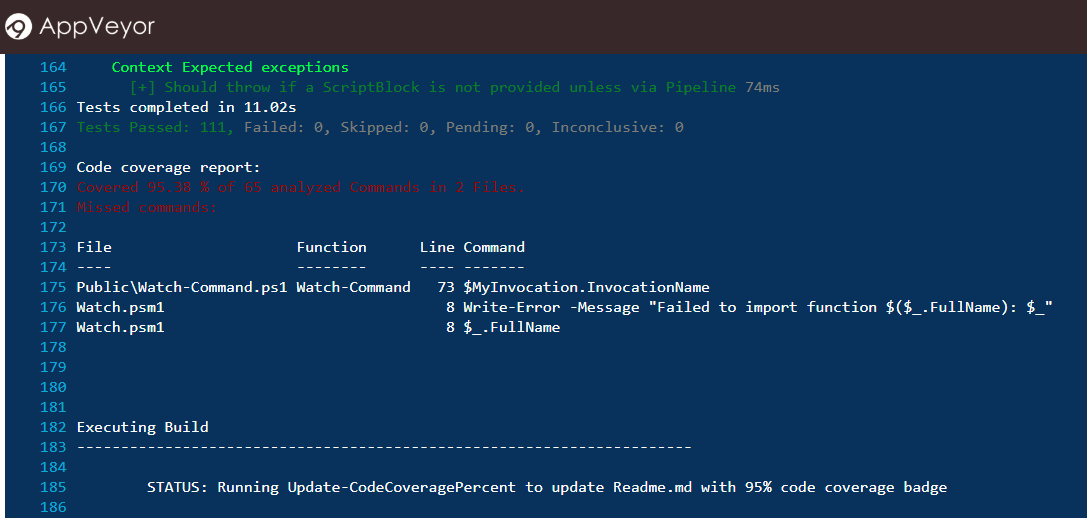
If you have a CI pipeline, you’ll also find the code coverage report in the output of your build:
2. You need to implement a small function that I stole (with permission) from my good friend and PowerShell aficionado Sam Martin.
Within your build script you need to add the following function (by Sam) that modifies the readme.md file to update the URL of the code coverage badge with the current coverage percentage results:
function Update-CodeCoveragePercent {
[cmdletbinding(supportsshouldprocess)]
param(
[int]
$CodeCoverage = 0,
[string]
$TextFilePath = "$Env:BHProjectPath\Readme.md"
)
$BadgeColor = switch ($CodeCoverage) {
{$_ -in 90..100} { 'brightgreen' }
{$_ -in 75..89} { 'yellow' }
{$_ -in 60..74} { 'orange' }
default { 'red' }
}
if ($PSCmdlet.ShouldProcess($TextFilePath)) {
$ReadmeContent = (Get-Content $TextFilePath)
$ReadmeContent = $ReadmeContent -replace "!\[Test Coverage\].+\)", ""
$ReadmeContent | Set-Content -Path $TextFilePath
}
}
You then make immediate use of the function as follows, by taking the earlier generated Pester results variable and using its properties to calculate the coverage percentage, which is then sent to the above function as a parameter:
$CoveragePercent = [math]::floor(100 - (($Script:TestResults.CodeCoverage.NumberOfCommandsMissed / $Script:TestResults.CodeCoverage.NumberOfCommandsAnalyzed) * 100))

Update-CodeCoveragePercent -CodeCoverage $CoveragePercent
You also of course need to add the Code Coverage badge to your readme.md to start with (so that there’s something there for the function to modify). This is made possible via shields.io, who provide various badges that can be customised via parameters in the querystring.
To add their code coverage badge, include this in your Readme.md:

This version won’t actually work because it doesn’t yet include the colour or percentage parameters, but those values will be added when the build runs.
3. You need to ensure your CI pipeline checks back in modified files after a successful run, in a way that doesn’t trigger another build.
Finally (for a completely automated solution), I added an on_success step to my AppVeyor build pipeline that uses git to check back in the modified readme.md to the project in a way that doesn’t trigger another build (lest you wish to be stuck an infinite build loop).
This was done by modifying my appveyor.yml file as follows:
on_success:
  - git config --global credential.helper store
  - ps: Add-Content "$HOME\.git-credentials" "https://$($env:GitToken):x-oauth-basic@github.com`n"
  - git config --global user.email "build@appveyor.com"
  - git config --global user.name "Appveyor"
  - git checkout %APPVEYOR_REPO_BRANCH%
  - git add *.psd1
  - git add *.md
  - git commit -m "[skip ci] AppVeyor Build %APPVEYOR_BUILD_VERSION%"
  - git push
For this to work you also need to configure a personal access token within Github to allow AppVeyor permission to write to your repository. See this guide from AppVeyor on how to do this.
It’s very important that you include
[skip ci]in the commit message (as shown above). By doing so AppVeyor will not trigger another build when this commit occurs.
You might also have noticed in the code above that I am using Git to commit any modified *.md and *.psd1 files. The .md files are of course to capture the updated readme.md. I commit changed .psd1 files because my CI pipeline also publishes my module to the PowerShell Gallery and when doing so it increments the module version in the .psd1 file. I simply check this back in to Github so that the Git repo is consistent with what is in the gallery.
—If you’ve followed the steps above, you should now have a completely automated way to indicate code coverage results on your PowerShell projects, just like this:
![]()
– In this example the badge is red because the coverage is less than 60%, as I specified in the Update-CodeCoveragePercent function. Between 75% and 89% it would be Orange, 90% and above it would be Green. Obviously you can set your own colour/score preferences.
In the future you may be able to replace/augment much of the above with https://codecov.io, which is a code coverage reporting service for Github projects. To use CodeCov you need to be able to upload a code coverage report from which CodeCov generates you a micro-site with detailed information about the code coverage of your project, as well as then a link to a badge you can put in your readme.md.
I believe Pester doesn’t yet generate the needed code coverage reports, but an issue is open on Github for the feature, so watch that if you want to see when it occurs. However it seems that at least one PowerShell project has developed a workaround for this and is successfully using CodeCov for a PowerShell project.
In the meantime, if you just want a simple code coverage badge for your readme.md, hopefully the above was helpful. Let me know how you get on implementing it via the comments below.


Comments