
On the 27th of April 2016 Microsoft released Technical Preview 5 of Windows Server 2016. I was keen to see the new version in action, particularly since attending a talk recently on Windows Containers, which have been a feature available for testing since TP3. I am going to explore Containers in a later post, but here i’m going to cover how I chose to get the OS up and running, as when I came to do it I struggled to find a recommendation on where to test it.
1. Choose a Hypervisor
There are a number of desktop virtualisation tools to choose from. Initially I got Windows Server 2016 up and running under Oracle’s VirtualBox, but I later discovered that it did not support Nested Virtualisation which means you can’t install the Hyper-V feature within your VM and test out Hyper-V containers. As such I instead recommend VMWare Workstation 12 Player (which is free for non-commerical use).
Download VMWare Workstation 12 Player from here and install.
I suspect (but have not confirmed) that if you’re running Windows 8 or 10, you could use the desktop Hyper-V feature instead, but as i’m running Windows 7 this wasn’t an option.
2. Download the ISO
Download the Windows Server 2016 TP5 Full ISO. You’ll need to register to get access to the link.
3. Create a Virtual Machine
In VMWare Workstation select Create a new Virtual Machine. Point to the ISO, click Next. Select Windows and Server 2016 (obviously –but its nice Workstation has this as an option, VirtualBox did not). Name your VM and choose how large you want the disk. Finally click “customise hardware”, click processors and tick “Virtualize Intel VT-X/EPT or AMD-V/RVI”. Also ensure you set the VM to have at least 2 cores. Click OK and Finish. Select your VM and click “Play virtual machine”.
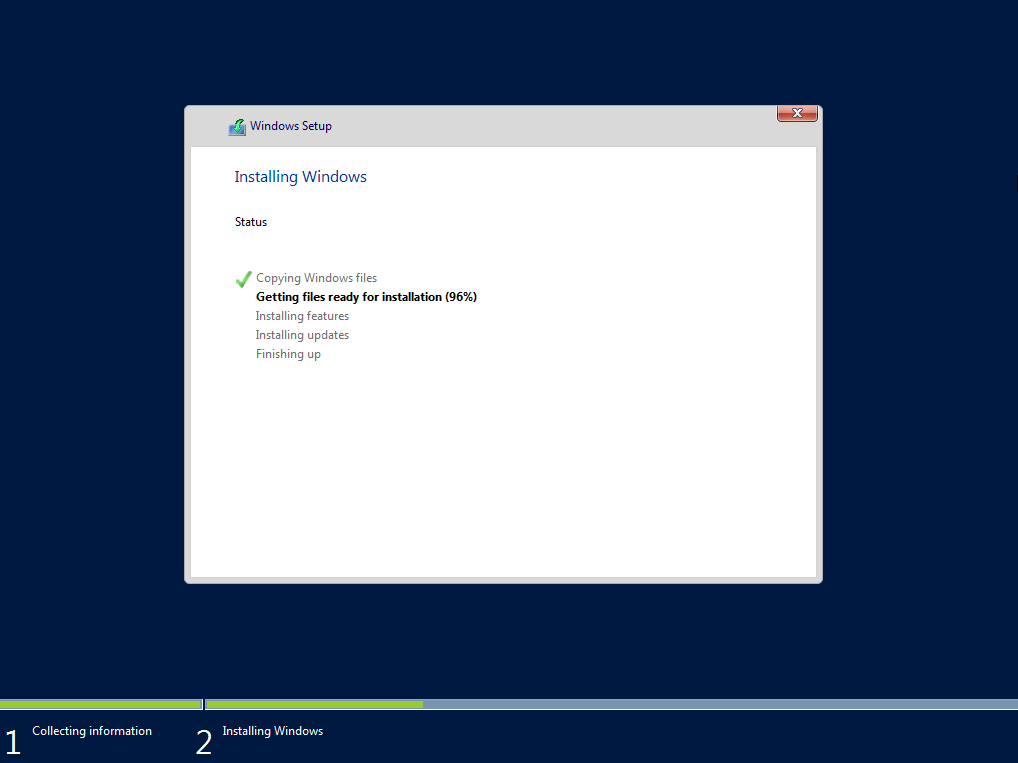
4. Install Windows
The installation process for Windows is fairly simple. Select your Language and follow through the Wizard. Beware there’s no “back” in the interface so if you move on to the next stage and change your mind you’ll need to start over.
Most critically beware that since TP3 you cannot turn the Windows GUI on and off with the Powershell Install-WindowsFeature command. So if you want to check out either the GUI or Server Core make sure you choose either the Windows with or without “Desktop Experience”.
The license keys can be found on the page where you downloaded the ISO by expanding the Preinstall Information section. Also take a look at the info in the Description section to see the difference between Standard and Datacenter editions.
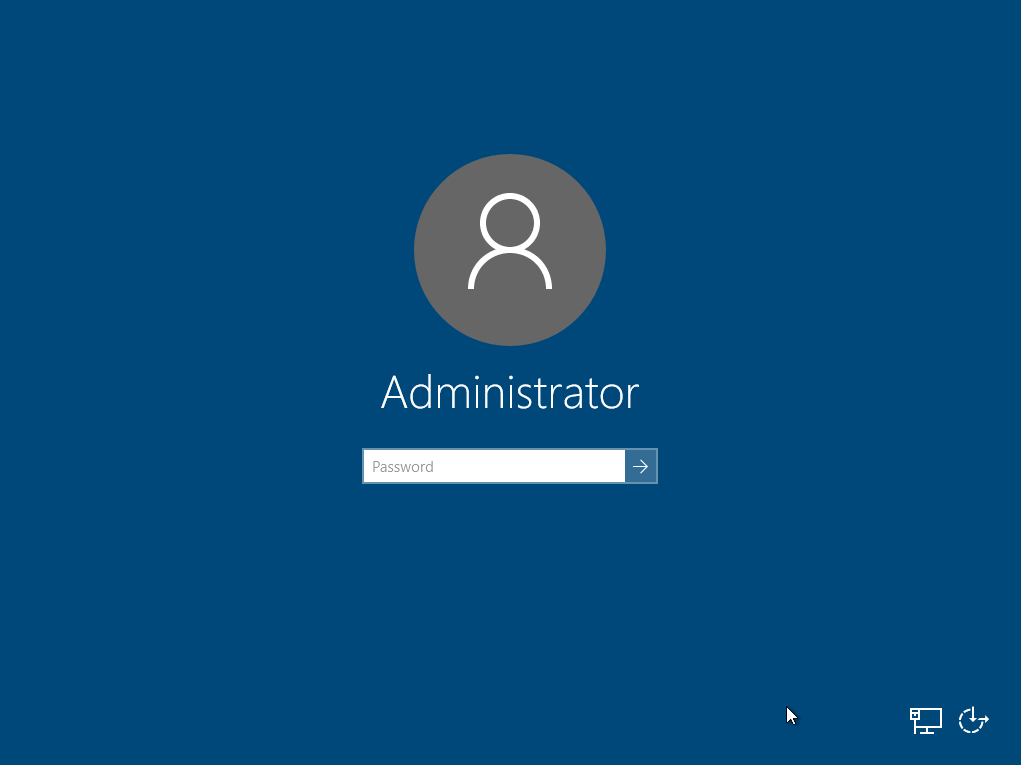
After Windows has completed installing you’ll be prompted to set up a password for the default Admin account. If you chose Server Core, this will be via a command prompt interface. Weirdly you don’t hit enter to move down to the next line but the arrow keys instead (i’d like to know what code drives this kind of interface, it seems useful).
After this it’s just a case of logging in:
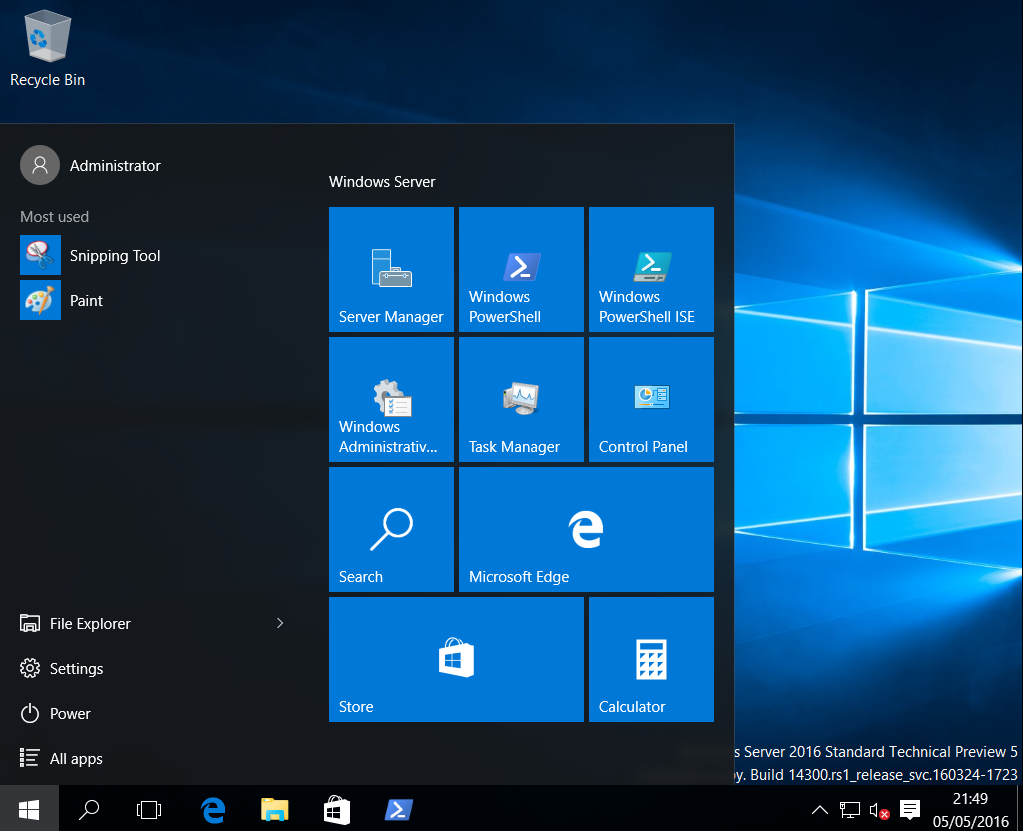
And (in case you haven’t seen it) here’s what it looks like with a GUI:
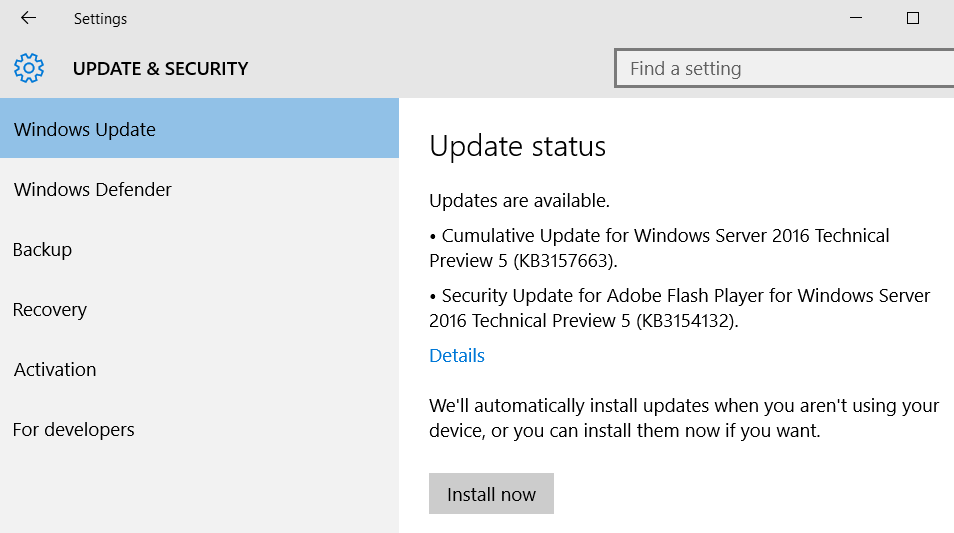
5. Install updates
Per the release notes, its important that you install the Cumulative Update for TP5 and reboot before installing any roles or features. The easiest way to do this is to go to Settings > Update & security > Windows Update where it should be listed as an available update:
Optionally (and if you’ve used VMWare Workstation like me) you might now want to install VMWare tools to improve the experience of interacting with the VM. This installed cleanly for me with no issues and I recommend doing it.
I will be installing and exploring Containers in a future post.
Further reading
For a full list of the features of Windows Server 2016, including those bundled in each of the Technical Previews, see the Windows Server 2016 wikipedia page.
If you already have or plan to install a Windows Server Core (no Desktop Experience) I have now written a follow up post that covers the basic post-installation setup of Server 2016 Core.


Comments